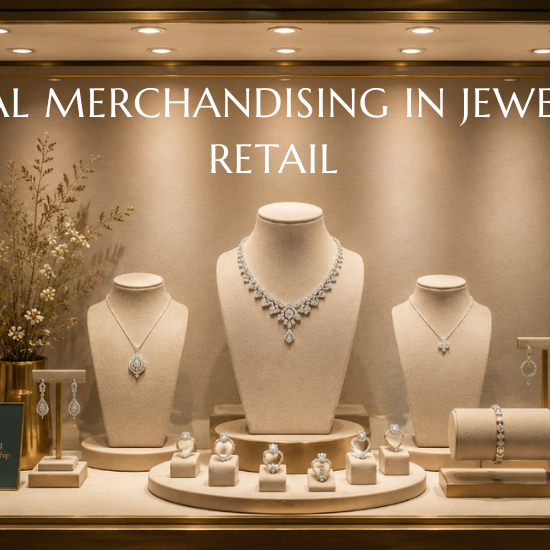
Walk into any jewellery showroom that feels effortless to shop in: the rings are easy to find, the bridal sets look like a moment, and your eye keeps landing exactly where the brand wants it to. That’s not luck. That’s a planogram at work. If you’re starting in jewellery merchandising, “planogram” is one of the first words you’ll hear on day one, and one of the most important skills you’ll be graded on by the time you build your portfolio.
What Does Planogram Mean in Jewellery Retail?
A planogram is a diagram that maps exactly where every product goes on a fixture, shelf, counter, or window, down to the piece, the spacing, and the sightline. In fashion retail, a planogram might tell you which shelf gets the new denim. In jewellery retail, it’s far more precise, because a two-inch shift in a ring tray can change how “premium” a whole counter feels. Think of it as the architecture behind the sparkle: invisible to the customer, but the reason the store works.
Once you understand what a planogram is, the next question every merchandising student asks is: which kind of planogram do I actually use, and when? Jewellery retail relies on four core layout types, and each one solves a different display problem.
Horizontal Planograms
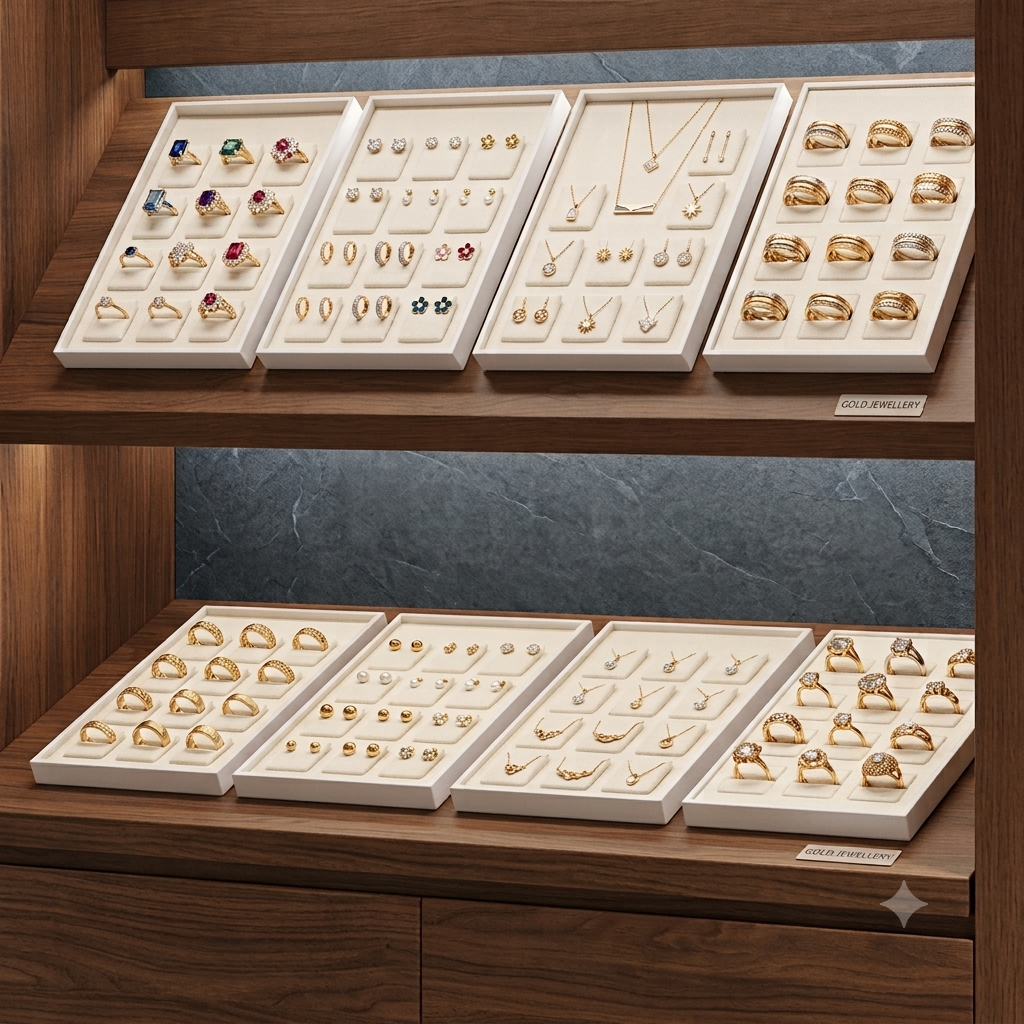
Products are arranged in rows across a fixture, moving left to right. This is the most common layout for counter displays because it mirrors how the eye naturally scans a glass case and makes side-by-side comparison easy; it is ideal for a row of engagement rings in ascending carat weight, for example.
Best for: ring trays, bangle rows, comparison-driven categories
Vertical Planograms
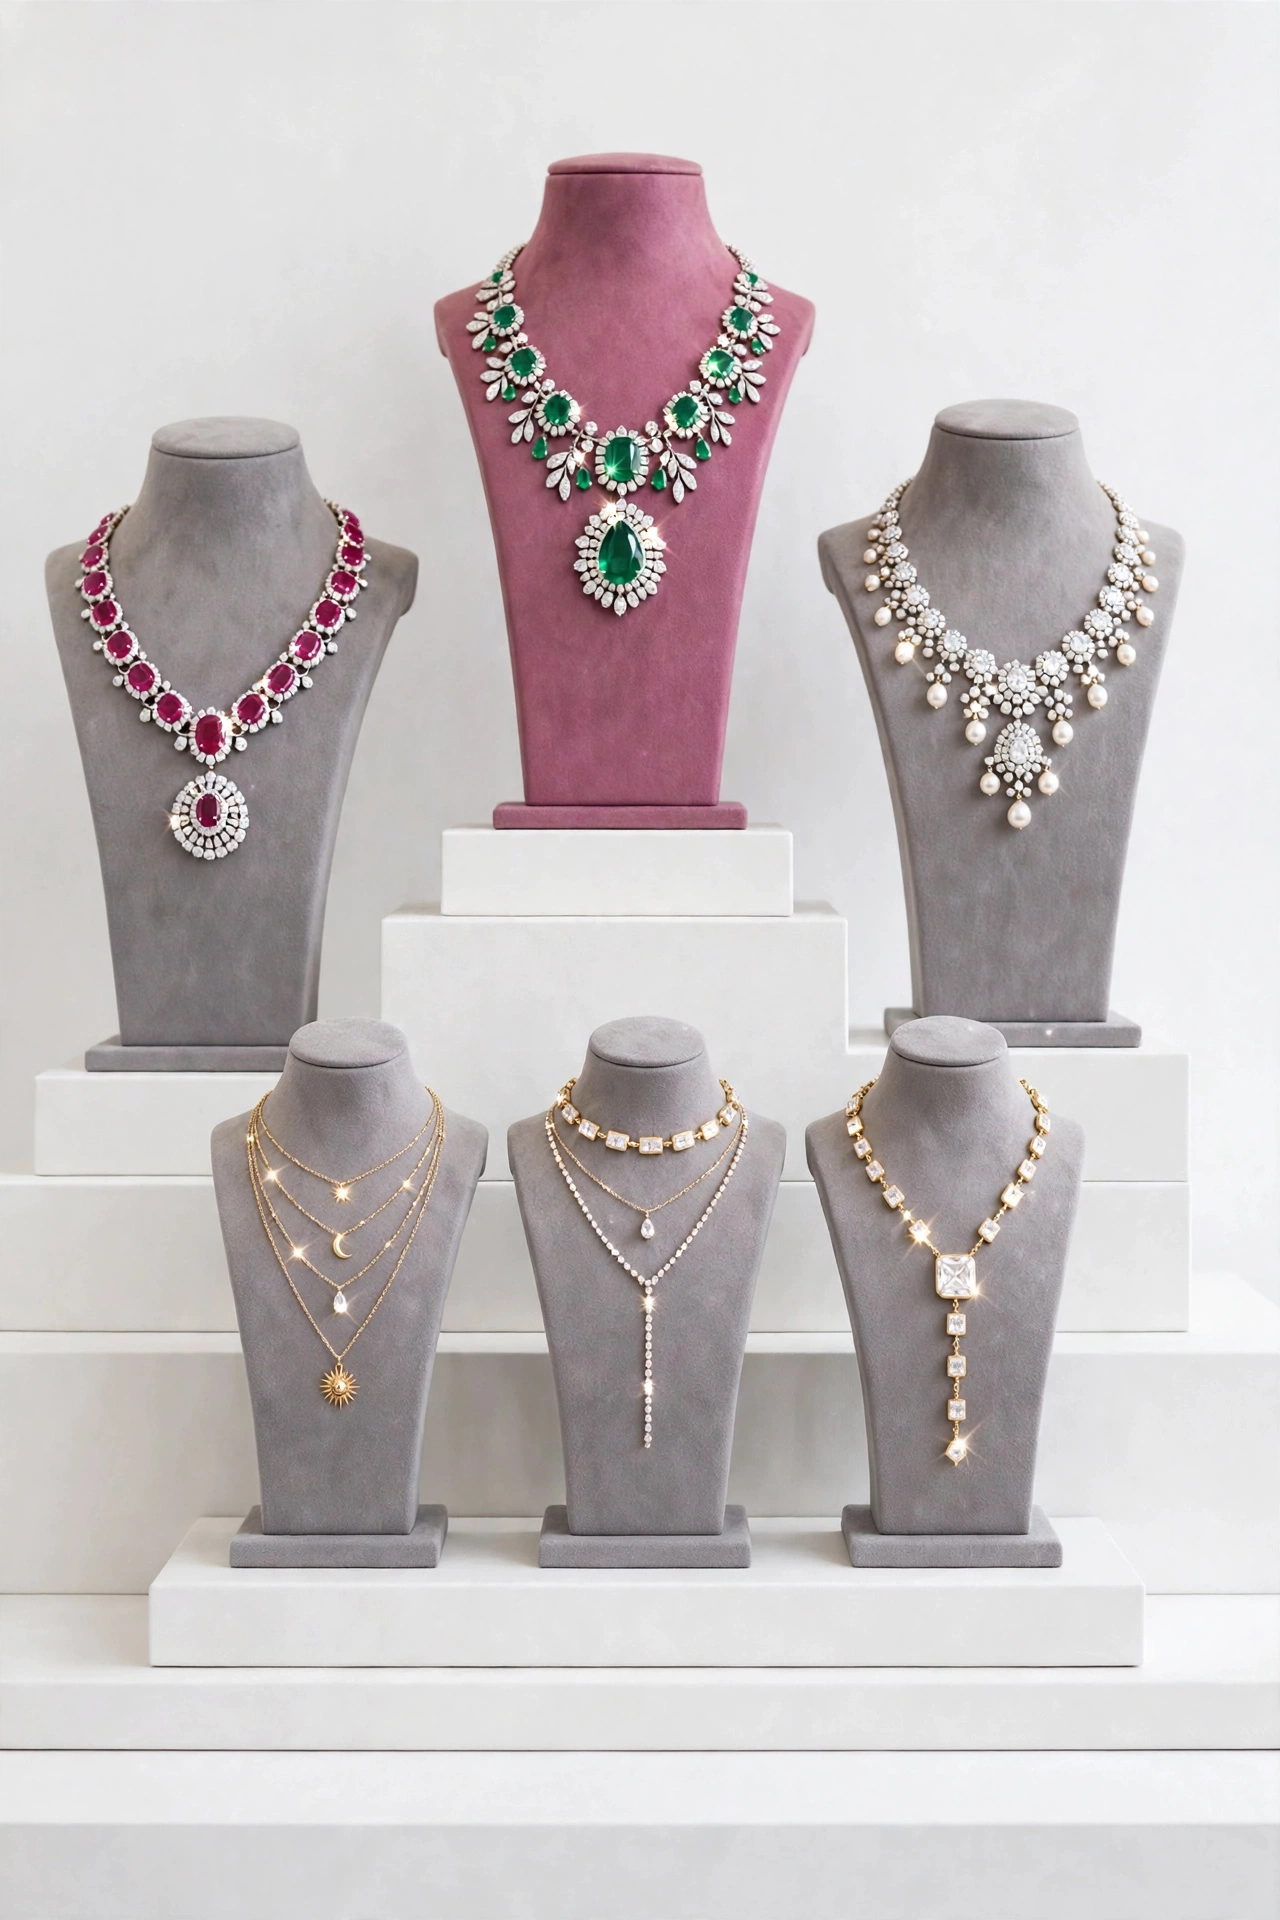
Products are stacked in columns from top to bottom, often on a tiered stand. Vertical layouts are especially effective for necklaces and pendants, where height itself becomes part of the presentation; think of a bangle stand or a tiered necklace display that draws the eye upward.
Best for: Bangle stands, tiered displays, window centrepieces
Block Planograms
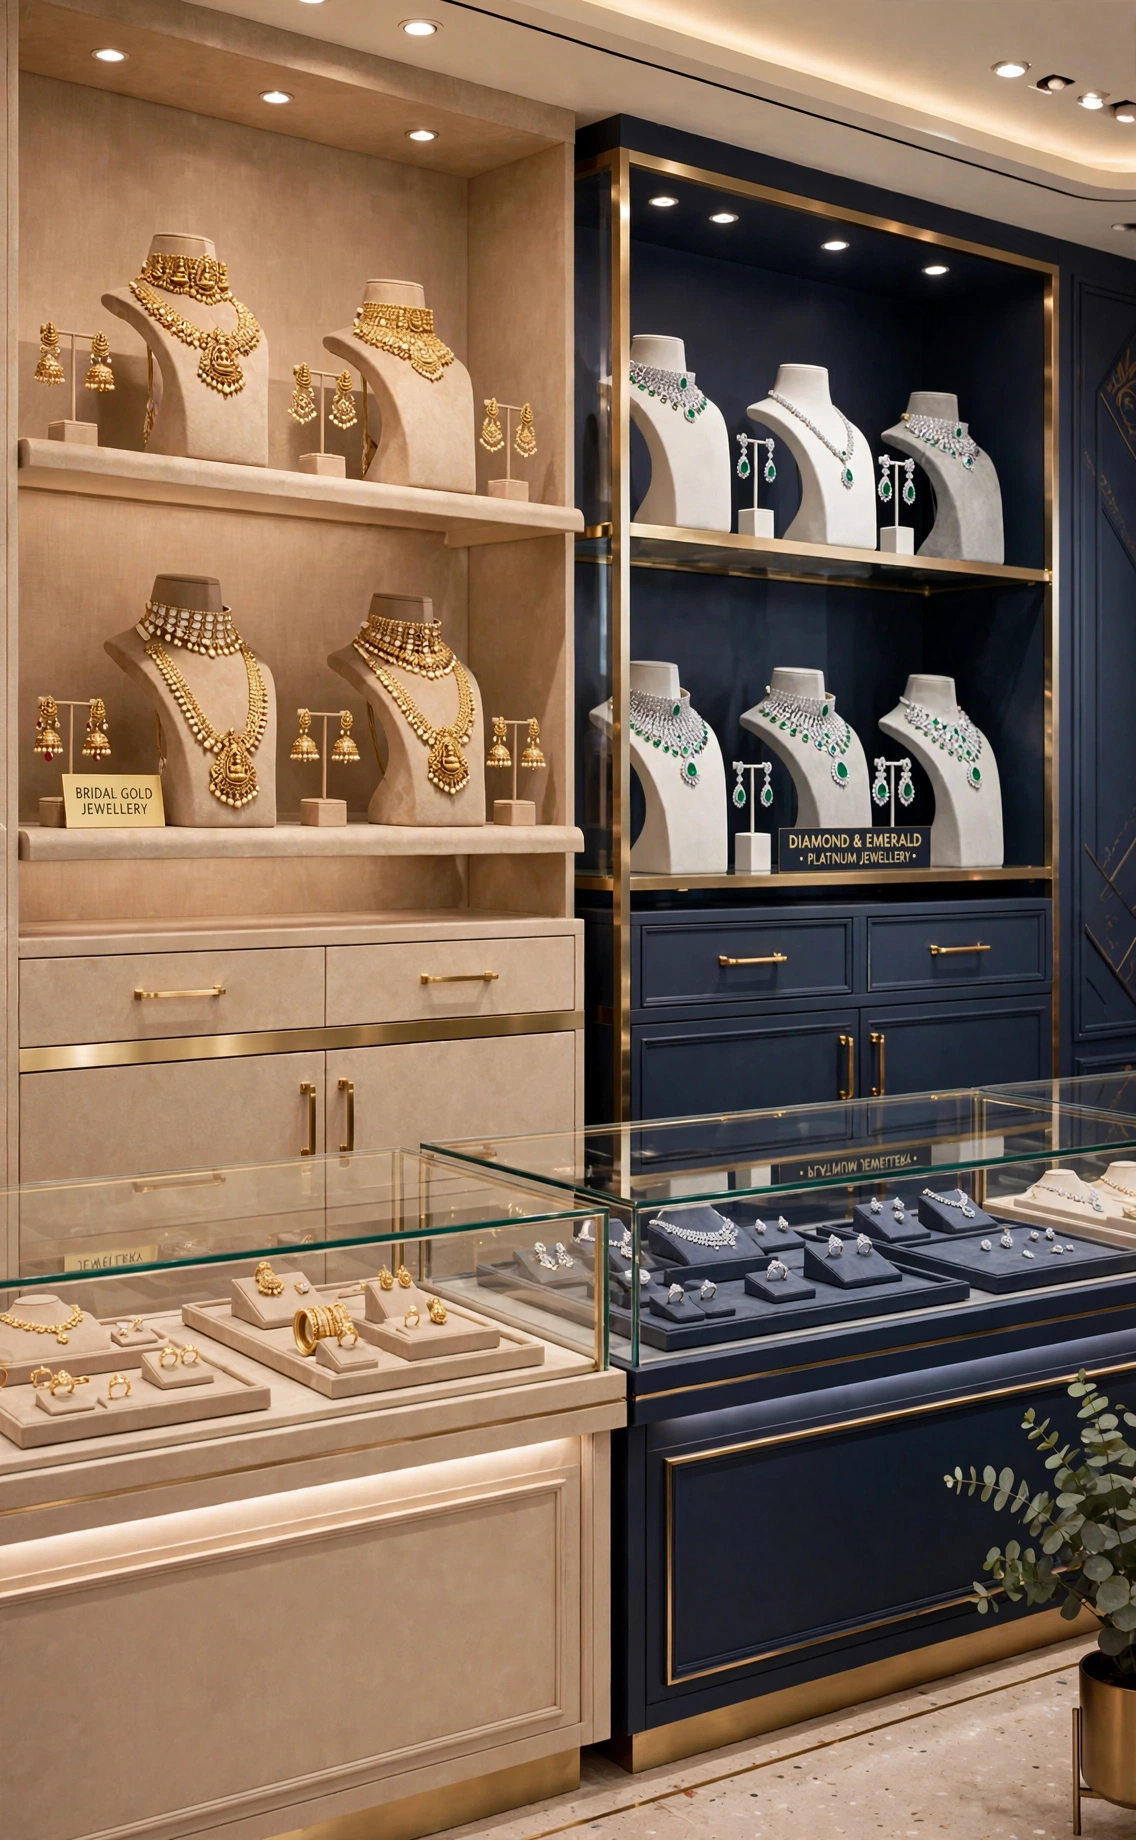
Products are grouped by category, brand, or collection into a defined “block” of space: all bridal sets together, all gold chains together, an entire fixture dedicated to a single festive collection. Block merchandising is what makes a large showroom feel navigable rather than overwhelming.
Best for: collection launches, brand zones, large-format showrooms
Cross-Merchandising
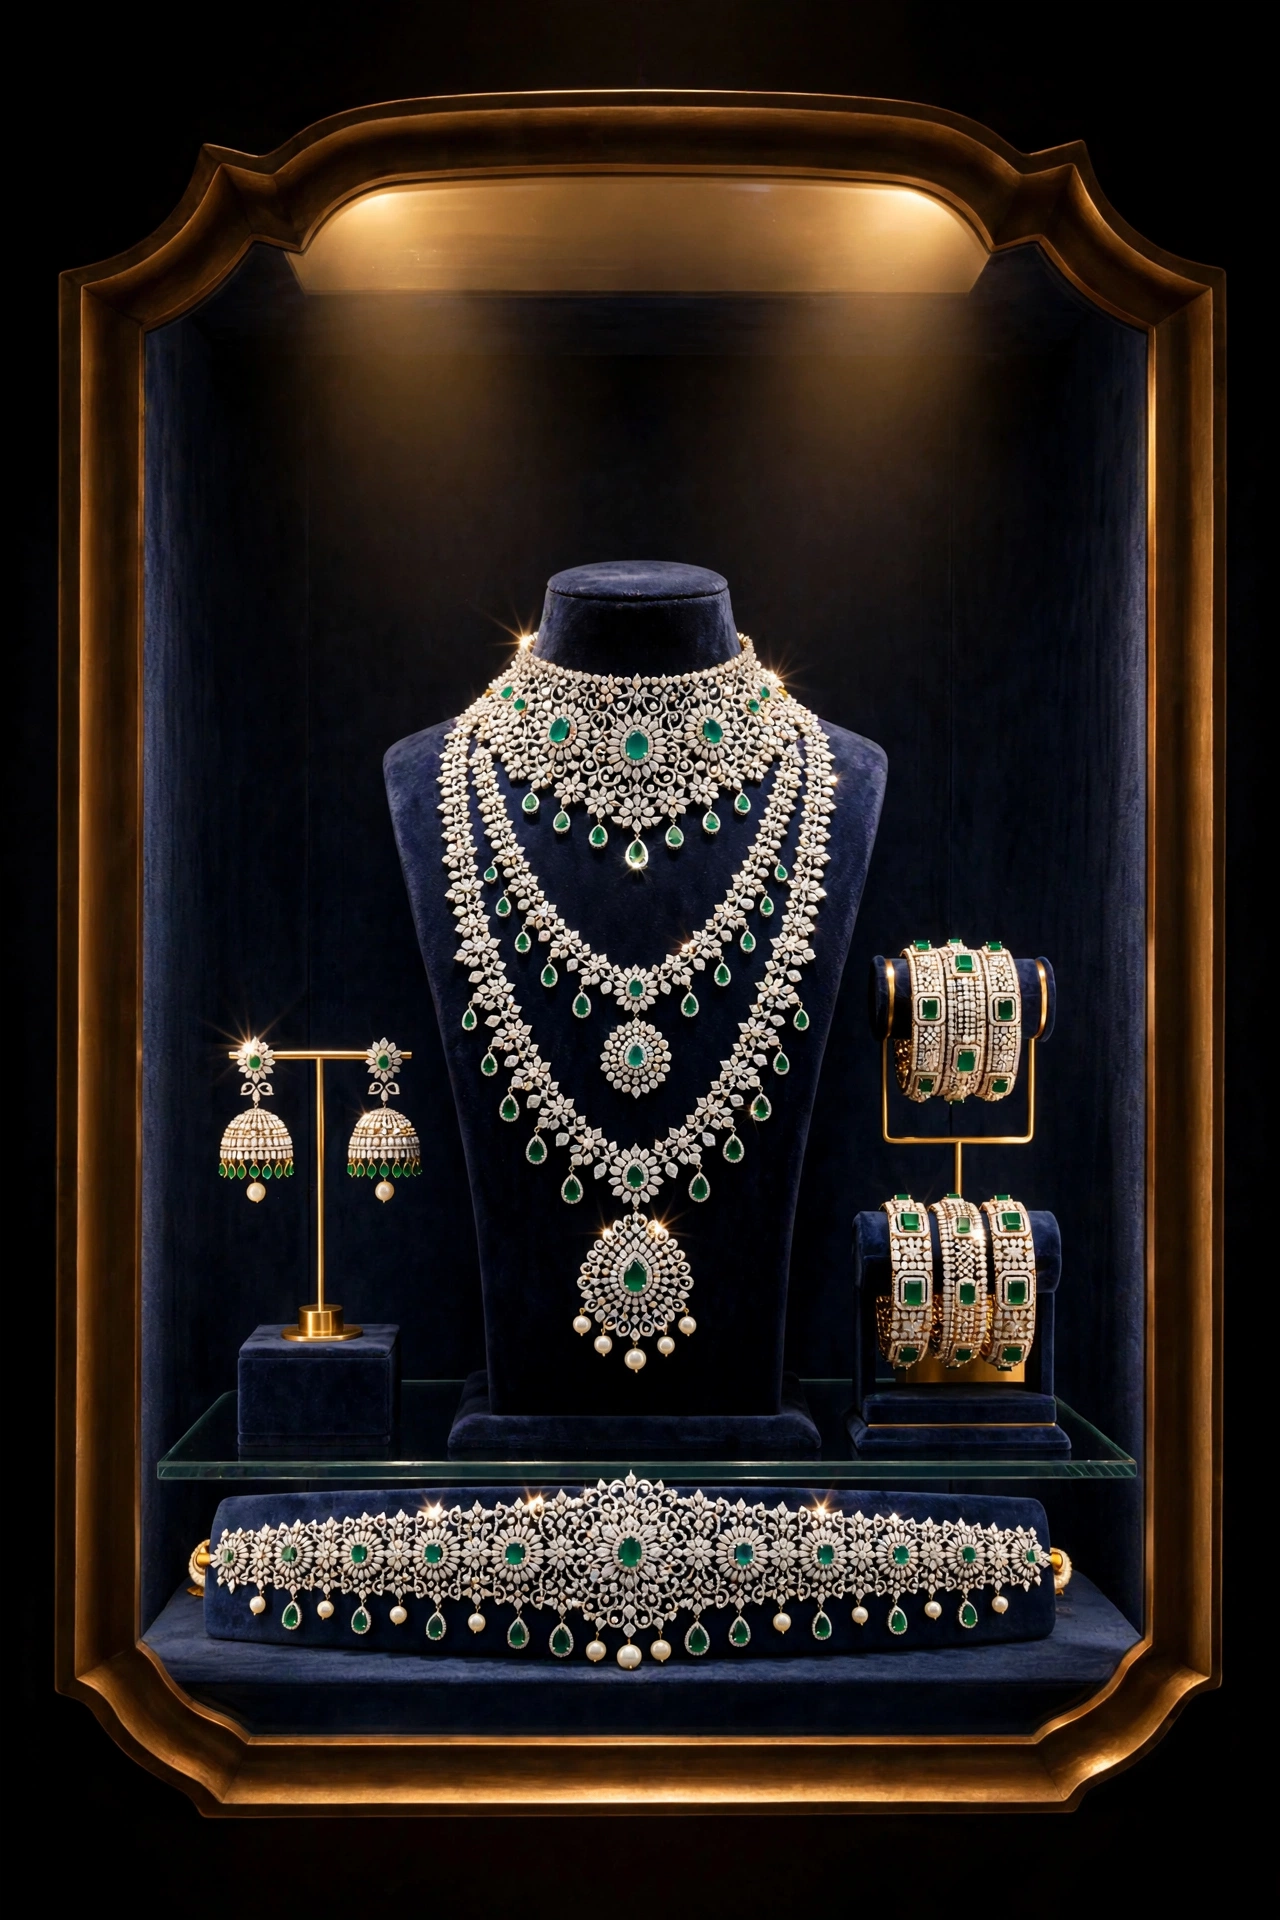
Instead of grouping by category, cross-merchandising pairs complementary products to encourage add-on sales, a necklace displayed with its matching earrings and bangle, styled together as a complete look rather than three separate SKUs.
Best for: bridal sets, gifting occasions, increasing units per transaction
How to Choose the Right Planogram Type
Ask yourself three questions before designing any jewellery display:
- What decision is the customer trying to make?
- How much space do you have?
- What’s the sales goal?
Horizontal, vertical, block, and cross-merchandising aren’t competing techniques; they’re a toolkit. The best jewellery merchandisers know which tool fits which counter, and that judgment is exactly what separates a trained VM student from someone just arranging shelves.
FAQ’s
Yes, and most do. A counter might use horizontal rows for rings while a nearby stand uses vertical tiers for bangles; the layout should always follow the product, not the other way around.
Vertical and Cross-Merchandising layouts tend to work best in compact spaces, since they make efficient use of limited counter or window area while still telling a styled story.
Not Quite. Collection display (block Merchandising) groups items from the same range. Cross-Merchandising groups items meant to be worn together, even if they’re technically different product categories.
| Practise identifying these layouts in real stores this week, then bring your observations into IIG South’s Visual Merchandising course, where you’ll design all four types yourself. |